Adding and Removing Contacts inside of Dialpad
First you will need to go into Dialpad and delete all your personal contacts from the contacts list. That contact list only shows on your side - it is not imported across the Dialpad database.
Here's a video on How to Delete contacts in Dialpad.
Navigate to your Contacts
Select Options (that's the 3-vertical dot beside the contact's name)
Select Delete
Confirm deletion
- Its all self service so you should be able to sift through what you want and don't want as we here wouldn't know what you do and don't need.
All of the contacts synced with your Gemsupply.net email will be locatable at https://contacts.google.com/. If you have any personal contacts you see in that list, delete them.
Next you will need to resync your Gemsupply.net contacts the same as you did the first time.
Select Your Settings
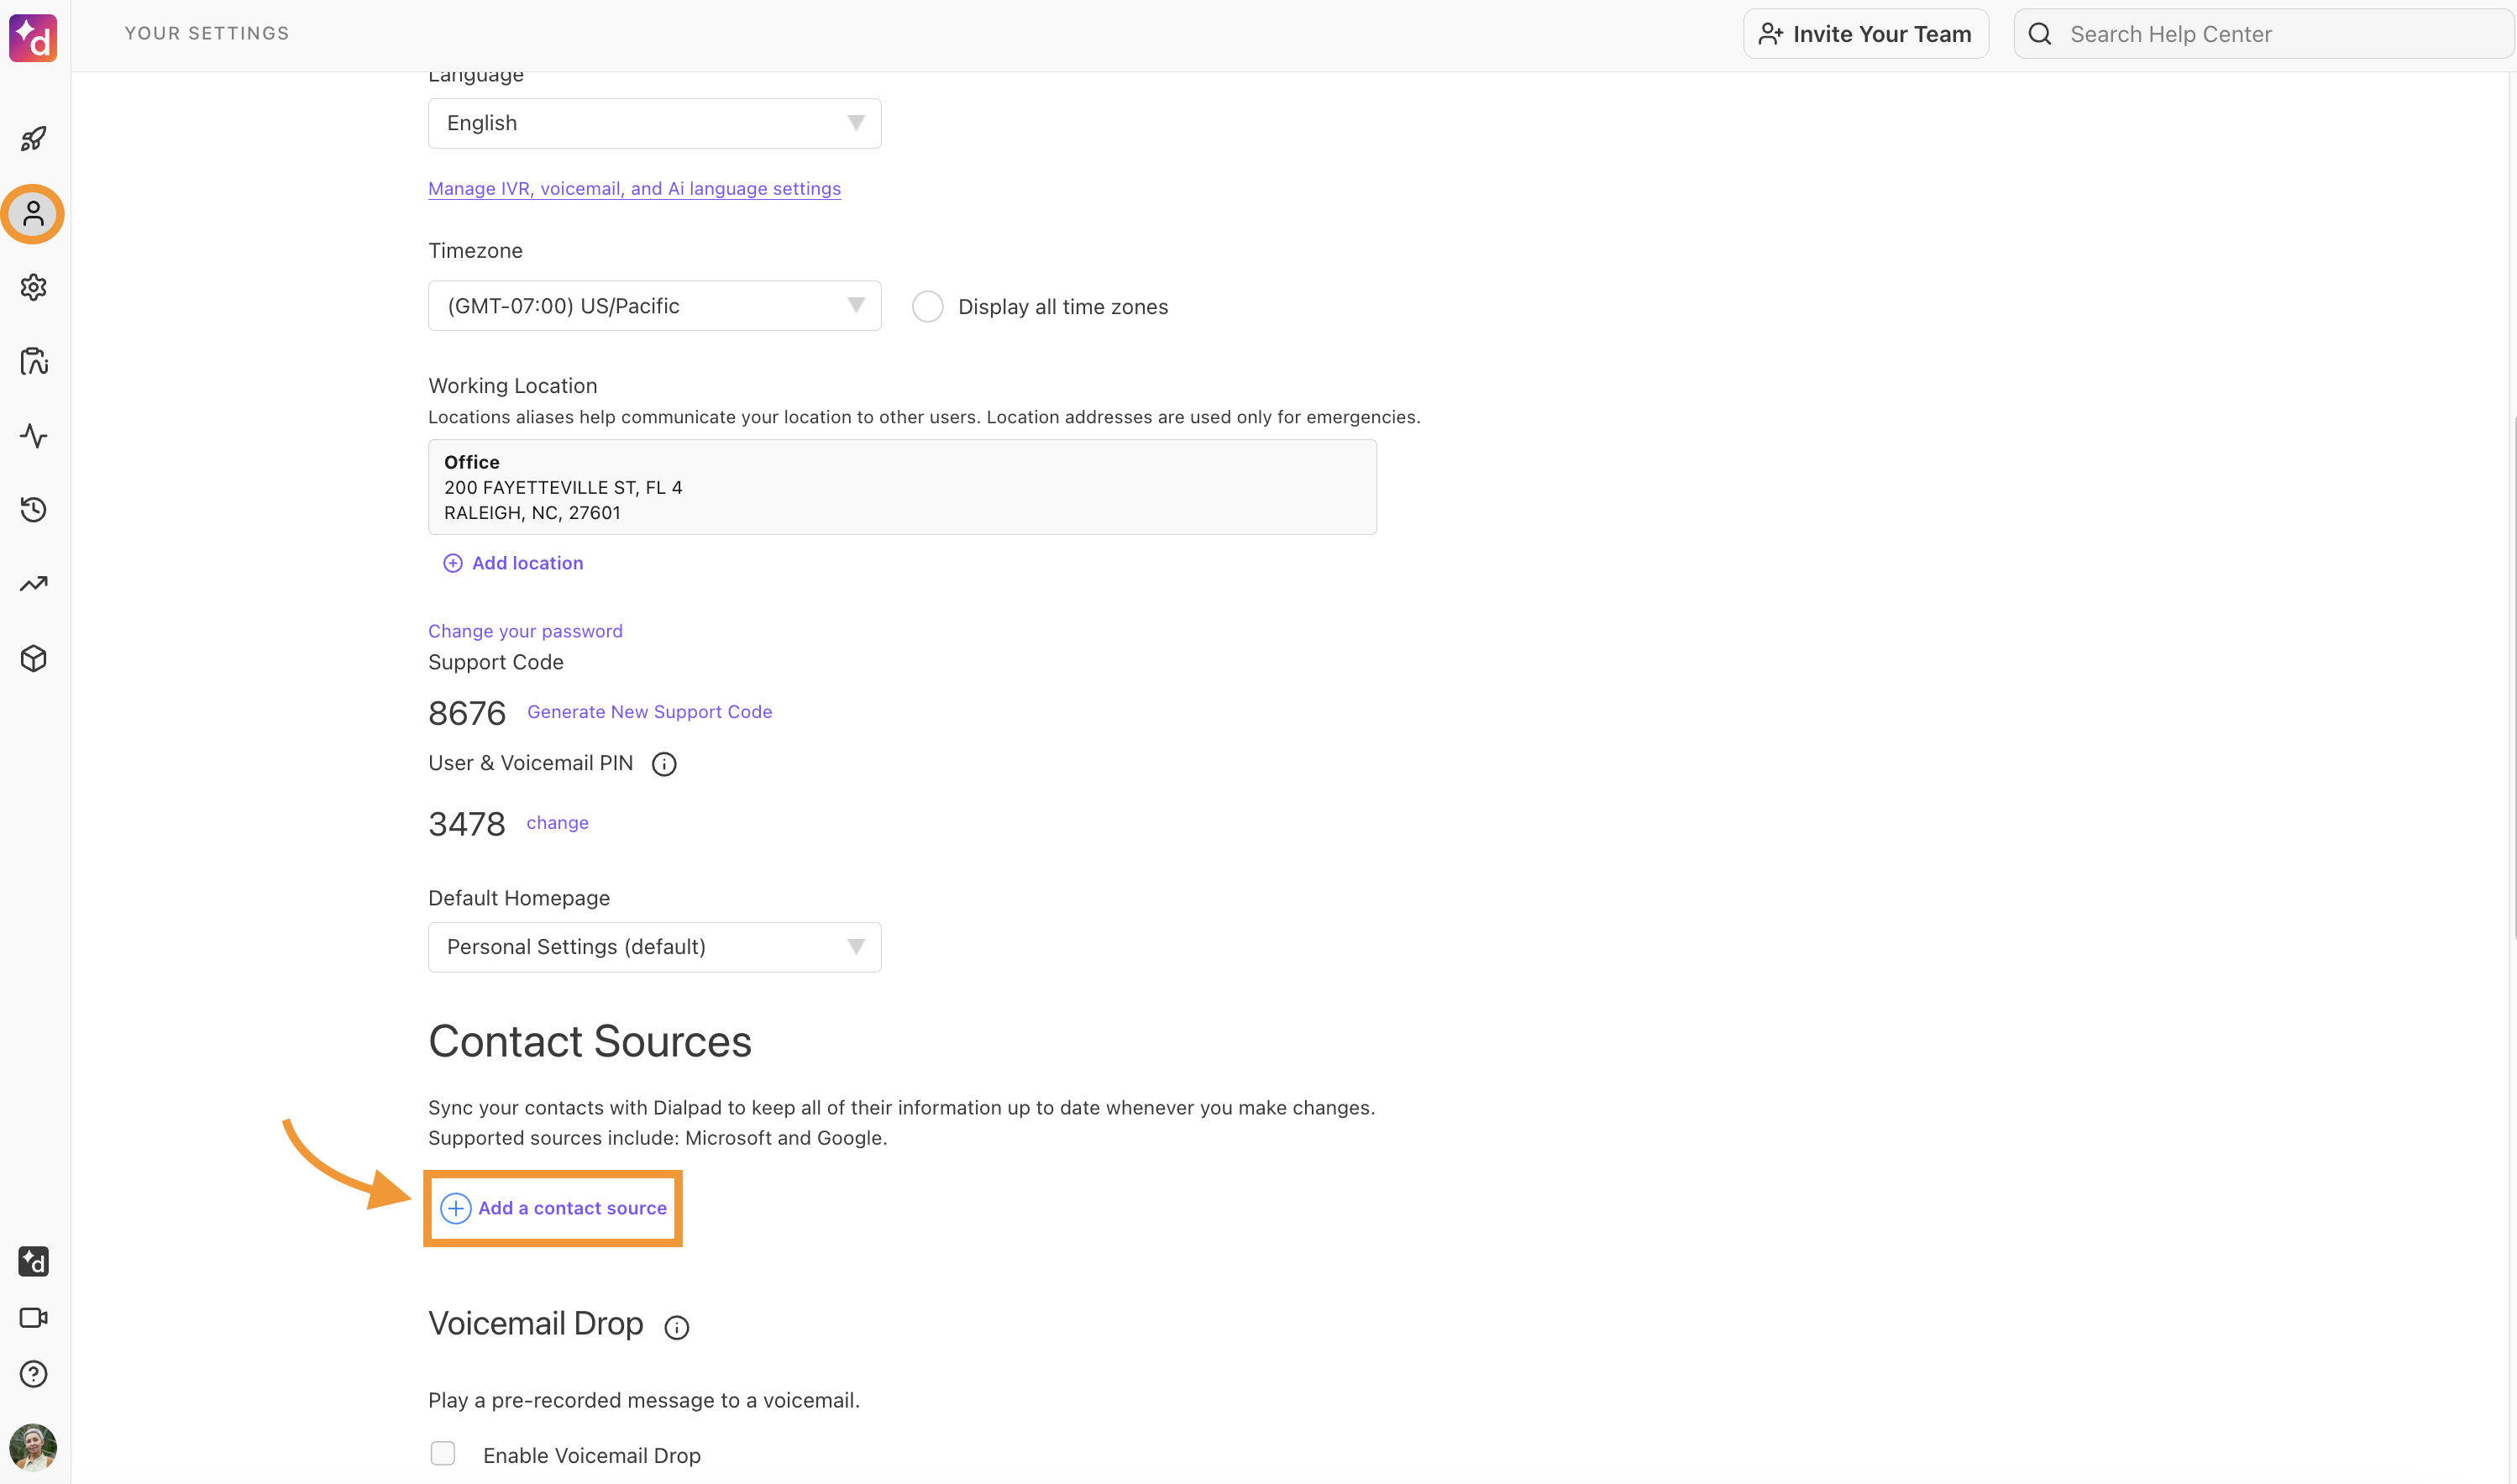
Navigate to Contact Sources
Select Add Contact Source
Your Settings page showing option to add contacts from an external source.
Select Office 365 contacts or Google contacts
Select Connect
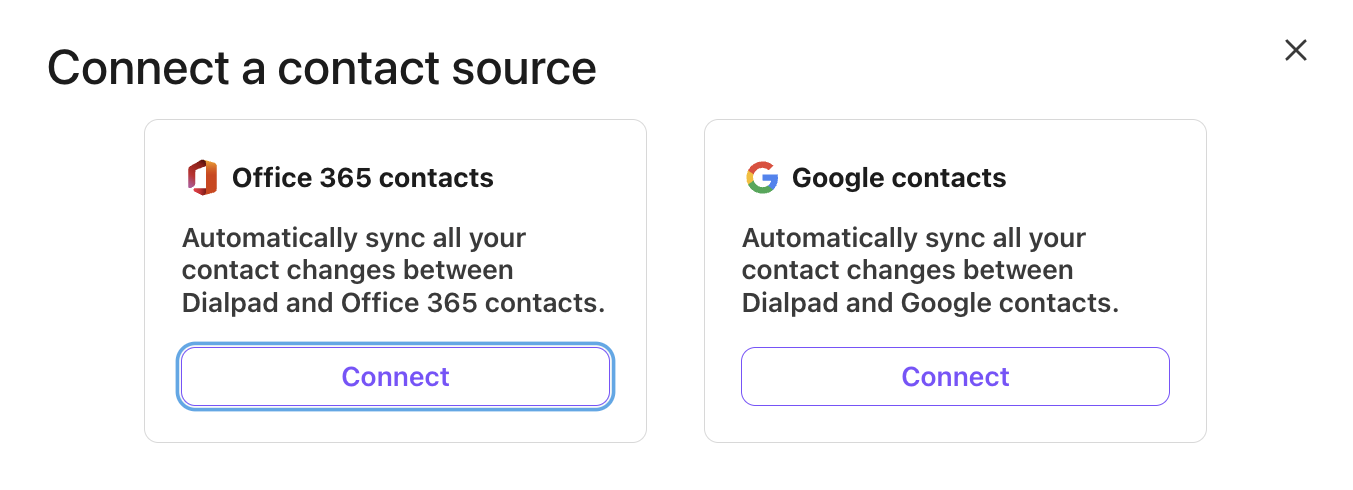
That's it! When you return to Dialpad, you’ll see the sync has connected.
Related Articles
Removing Folder Redirection isn't Working
After discovering that redirecting AppData has caused unexpected problems with various applications (mostly Mozilla Thunderbird/Firefox) I want to stop using folder redirection for AppData, and move it back into the roaming profile. The steps I've ...The CoreDial app and Direct Dials
For each user to use their Direct dial number on their cell phone they will need to go to their phone's app store and search for "CoreNexa." The icon looks like this: Leverage the power of your business phone through your phone or tablet - anywhere, ...Outlook 2016 Share Calender
Share an Outlook calendar with other people Outlook for Microsoft 365 Outlook 2019 Outlook 2016 Office for business Outlook 2013 Outlook 2010 Outlook 2007 Less If you have an Exchange, Microsoft 365, or Outlook.com account, you can send a sharing ...Uninstall Offices 2016 updates - Not available in Programs and Features
Office 2013 and 2016 click to run (this is the 365) updates direct from Microsoft and the updates do not show up inside the computer anywhere. ...Fix for issue with special characters in DesignWerx
applied the following workarounds according to FileMaker kb article 15419 https://support.filemaker.com/s/answerview?language=en_US&anum=15419 Delete the Windows font cache at C:\Windows\System32\FNTCACHE.DAT and restart the machine. Disable Windows ...